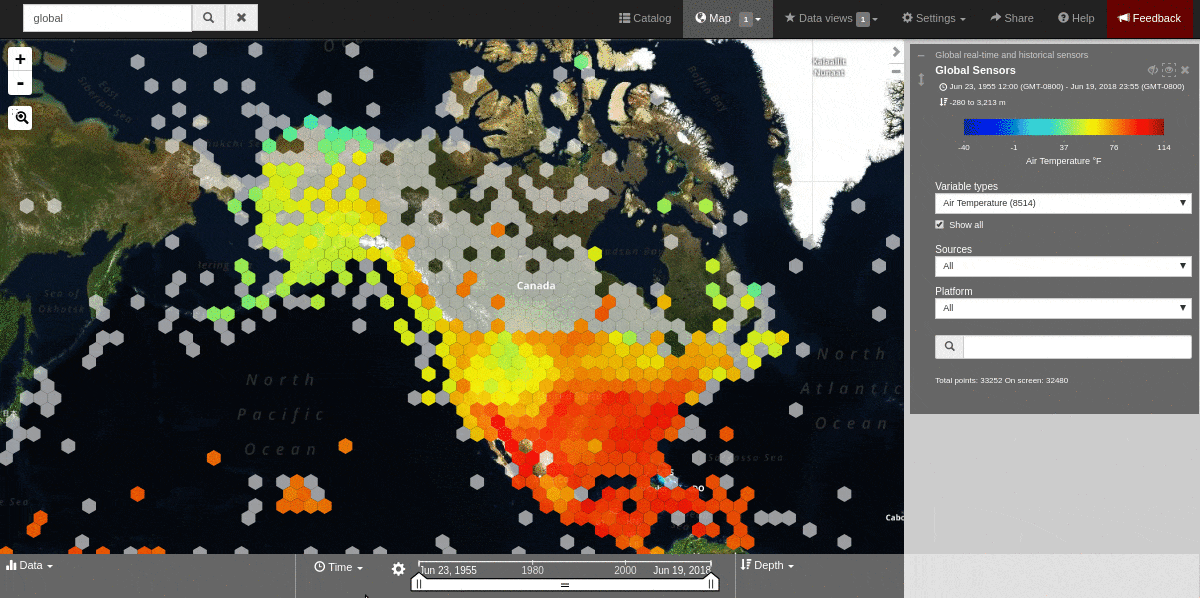
Time Slider
There are several ways to use the time slider to interact with temporal data.
Basic tools

To navigate a dataset using the time slider, try these steps:
Click and drag both ends of the time slider control to adjust the time bounds.
Click and drag the middle of the time slider control bar to step through the temporal data.
Pull down on your mouse while dragging for finer control.
Hover your mouse over the time slider bar to see the temporal range of the data that has been selected.
Finer control
To interact with a dataset in a more granular way, try these steps:
Click on the calendar icon to the left of the time slider for finer time controls.
Click the calendar bar to enter the bounding time interval.
Using the calendar, enter a custom range by selecting both the start and end dates.
Click the preset time ranges from the list on the left to view real time, past 24 hours, past week, past 30 days, etc.
Select
Applyto view the selected time range of data in the map.
Advanced tools
To explore advanced time slider features, try these steps:
Click on the calendar icon to open the time control menu.
Select the
Next Time Stampbutton to step forward to the next time stamp. For example, if the data view has been set to show data from the prior month, the next time stamp would advance to show data from the current month.Click the
Previous Time Stampbutton to step back to the previous time stamp. To show the full start or end time extent click on theStep ForwardorStep Backwardto move the time control to the full start or end extent.
Note
You may also use the keyboard arrows to advance the selected timestamps.
Brush Time Selection
With a data chart open, click and drag the mouse to zoom into a time slice.
For more information about the time slider, please see the Time Slider overview section.